Welcome to a helpful article on DIY tips for maintaining your leather products. Whether it’s your favorite leather jacket, purse, or shoes, keeping them in top condition is essential for their longevity and appearance. In this article, we will explore some easy and effective hacks for keeping your leather items looking as good as new. From conditioning and cleaning to removing stains, these tips will have you taking care of your leather goods like a pro in no time. So, grab your supplies and let’s get started on giving your leather items the TLC they deserve! Have you ever wondered how to properly care for your leather products to keep them looking brand new for years to come? Leather items such as shoes, bags, and jackets can be a significant investment, so it’s crucial to learn how to maintain them properly. In this article, I’m going to share with you some must-try DIY tips for maintaining leather products. From cleaning to conditioning, these hacks will help you keep your leather items in excellent condition without breaking the bank. Let’s get started!
Check out our Product Reviews!
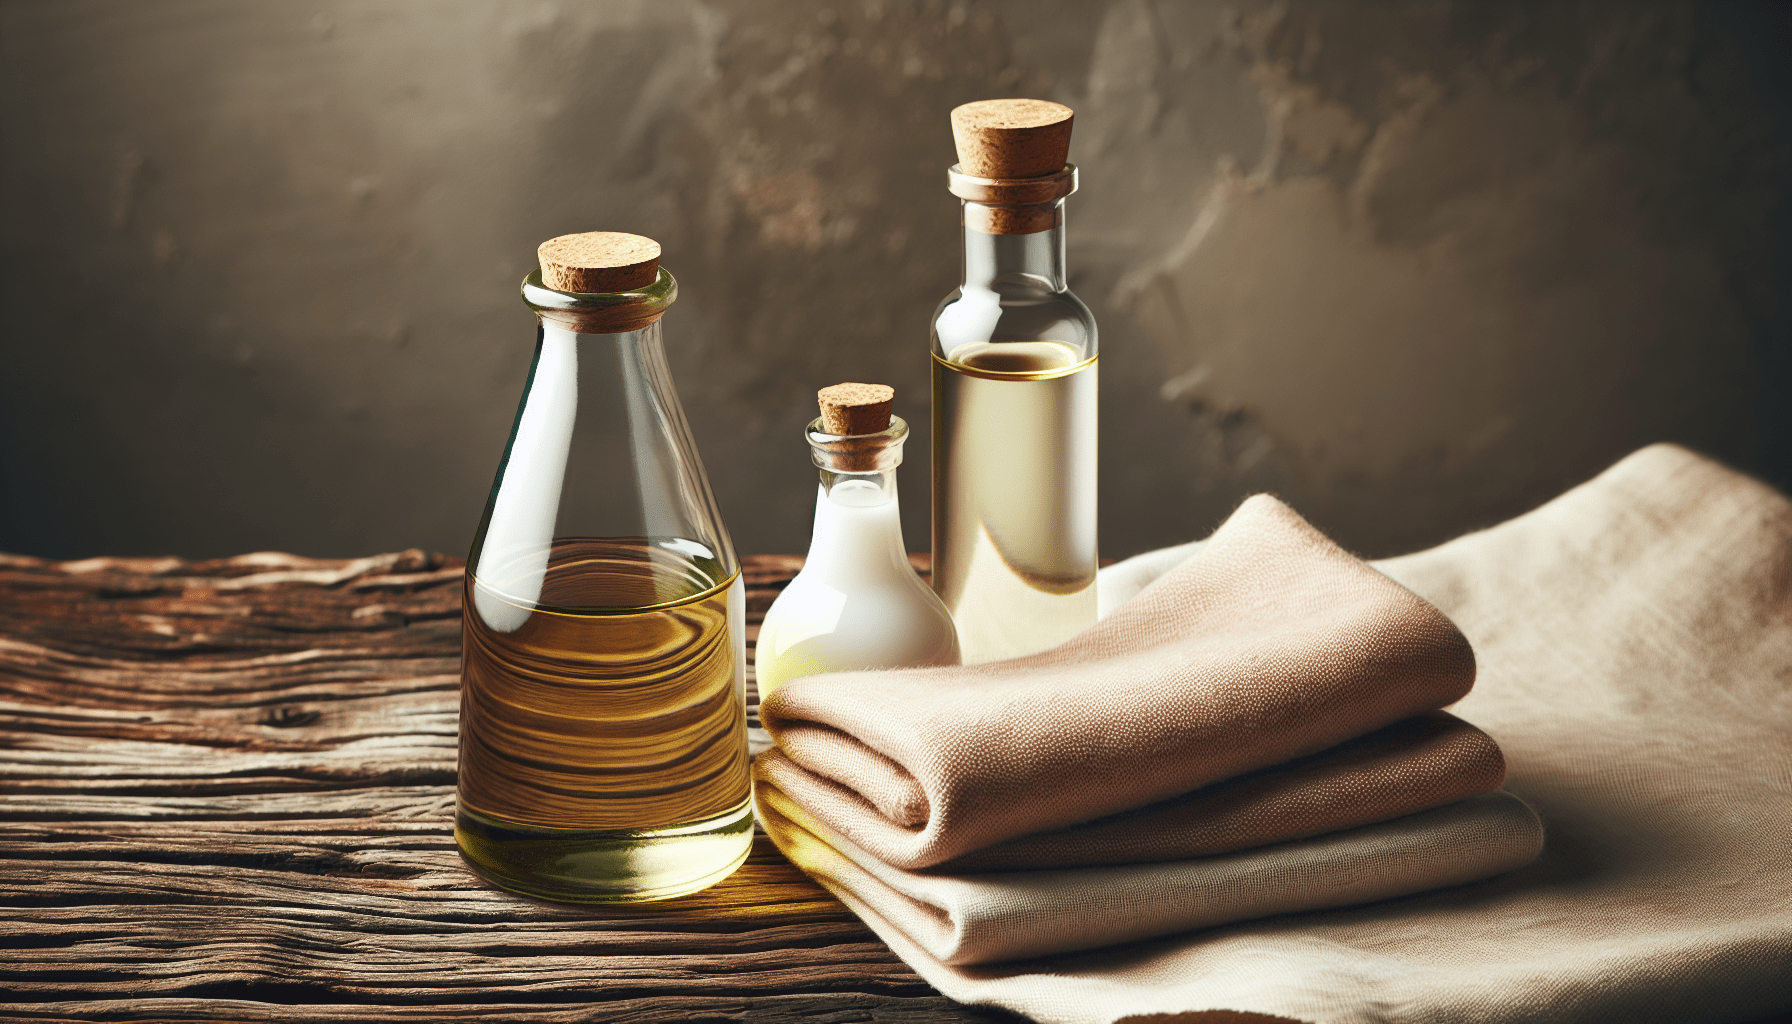
Cleaning Leather Products
When it comes to cleaning your leather products, it’s essential to use the right products and techniques to avoid damaging the material. Here are some DIY tips for cleaning leather items:
1. Use a Mild Soap Solution
Mix a few drops of mild soap, such as dish soap or baby shampoo, with water to create a gentle cleaning solution for your leather products. Dip a soft cloth or sponge into the solution and wring out excess water. Gently wipe down the leather item, focusing on any dirty or stained areas. Avoid using harsh chemicals or abrasive cleaners, as they can strip the leather of its natural oils and cause it to dry out.
2. Spot Clean Stains
For stubborn stains on your leather products, try spot cleaning them with a specialized leather cleaner. You can also make a DIY stain remover by mixing equal parts lemon juice and cream of tartar to create a paste. Apply the paste to the stain, let it sit for a few minutes, then wipe it off with a damp cloth. Repeat the process until the stain is gone.
3. Condition Regularly
Leather is a natural material that can dry out and crack over time if not properly conditioned. To keep your leather products soft and supple, it’s essential to condition them regularly. You can use a commercial leather conditioner or make your own by mixing equal parts olive oil and white vinegar. Apply the conditioner to the leather item using a soft cloth, rubbing it in a circular motion. Let it sit for a few minutes, then wipe off any excess conditioner with a clean cloth.
Storage Tips for Leather Products
Proper storage is crucial for maintaining the quality of your leather products, especially when they’re not in use. Here are some DIY storage tips to help you keep your leather items looking their best:
1. Store Them in a Cool, Dry Place
Leather is susceptible to damage from heat and humidity, so it’s essential to store your leather products in a cool, dry place. Avoid placing them near direct sources of heat, such as radiators or heaters, as this can cause the leather to dry out and crack. Instead, store them in a closet or wardrobe where they can be protected from sunlight and moisture.
2. Use Dust Bags or Pillowcases
To protect your leather products from dust and dirt when not in use, consider storing them in dust bags or pillowcases. These breathable fabric covers will help keep your leather items clean and prevent them from getting scratched or damaged. Make sure to choose a dust bag or pillowcase that is large enough to accommodate the size of the leather item without squishing it.
3. Avoid Plastic Bags
While it may be tempting to store your leather products in plastic bags for extra protection, this can actually do more harm than good. Plastic bags can trap moisture inside, creating a breeding ground for mold and mildew. Instead, opt for breathable storage options like dust bags or pillowcases to keep your leather items in top condition.
Check out our Product Reviews!
DIY Repair Tips for Leather Products
Accidents happen, and your leather products may get scratched, scuffed, or torn over time. Instead of tossing them out, consider trying these DIY repair tips to fix minor damage and extend the life of your leather items:
1. Repair Scratches with Olive Oil
Light scratches on leather can often be repaired with a little bit of olive oil. Simply dab a small amount of olive oil onto a soft cloth and rub it into the scratched area in a circular motion. The oil will help moisturize the leather and blend in the scratch, making it less noticeable. Be sure to buff the leather with a clean cloth afterward to remove any excess oil.
2. Fix Scuffs with Nail Polish Remover
To repair scuff marks on leather shoes or bags, try using nail polish remover. Apply a small amount of nail polish remover to a cotton ball and gently rub it over the scuffed area. The acetone in the nail polish remover will help dissolve the scuff mark, making it easier to buff out with a soft cloth. Be sure to test the nail polish remover on a hidden area of the leather first to ensure it doesn’t cause any damage.
3. Patch Tears with Leather Glue
If your leather item has a tear or rip, you can easily patch it up using leather glue. Apply a small amount of leather glue to the torn edges and press them together firmly. Hold the edges in place for a few minutes to allow the glue to set. Once the glue has dried, gently buff the area with a soft cloth to blend in the repair. For larger tears, you may need to use a leather patch or take the item to a professional for repair.
DIY Tips for Waterproofing Leather Products
Water can be damaging to leather, causing it to warp, crack, and lose its shape. To protect your leather products from water damage, consider trying these DIY waterproofing tips:
1. Use a Beeswax Polish
Beeswax is a natural waterproofing agent that can help protect your leather products from moisture. You can make your own beeswax polish by melting beeswax in a double boiler and mixing it with a small amount of mineral oil. Once the mixture is smooth, apply it to the leather item using a soft cloth, rubbing it in a circular motion. Let the polish sit for a few hours to dry, then buff it off with a clean cloth.
2. Try a Silicone Spray
Silicone sprays are another effective way to waterproof leather products. Simply spray a thin, even layer of silicone spray onto the surface of the leather item and let it dry completely. The silicone will create a protective barrier that repels water and prevents moisture from seeping in. Be sure to test the spray on a hidden area of the leather first to ensure it doesn’t cause any discoloration.
3. Avoid Water Exposure
One of the best ways to waterproof your leather products is to avoid exposing them to water whenever possible. If your leather item does get wet, be sure to dry it off immediately with a clean cloth and allow it to air dry naturally. Avoid using heat or direct sunlight to dry the leather, as this can cause it to shrink or crack. With proper care and maintenance, your leather products will stay looking their best for years to come.
So there you have it, some must-try DIY tips for maintaining leather products. From cleaning to repairing to waterproofing, these hacks will help you keep your leather items in excellent condition without spending a fortune on professional cleaning services. With a little bit of time and effort, you can extend the life of your leather products and enjoy them for many years to come. Remember to always test any DIY products or techniques on a hidden area of the leather first to ensure they don’t cause any damage. Happy leather maintenance!